Cooked vs Dry Rice Weights: Meal Prep Math
Get a reliable dry to cooked rice weight conversion in grams and ounces, plus portion sizes you can repeat for meal prep even when you do not have a physical scale.
If you have ever meal prepped rice and wondered why the same scoop suddenly weighs something totally different after cooking, you are not alone. Dry rice turns into a much heavier, fluffier portion once it absorbs water, which can throw off calories, macros, and container planning. In this guide, you will get a practical cooked-to-dry ratio, real gram numbers for common serving sizes, and quick math you can use for any variety. You will also learn how to estimate rice weight from photos when you do not have a scale.
Dry to cooked rice weight ratio in grams
If you cook rice often, the most useful thing to memorize is not a “perfect” number, it is a dependable multiplier you can do in your head. Dry rice turns into heavier cooked rice because it absorbs water, so cooked weight is mostly “rice plus water,” not “more rice.” For meal prep, that is great news: once you pick a ratio you like (firm, medium, or soft), you can hit a cooked-grams target on purpose instead of guessing with cups. This helps home cooks who bake by weight, fitness folks tracking portions, and even makers and shippers who need a quick weight estimate when a physical scale is not on the counter.
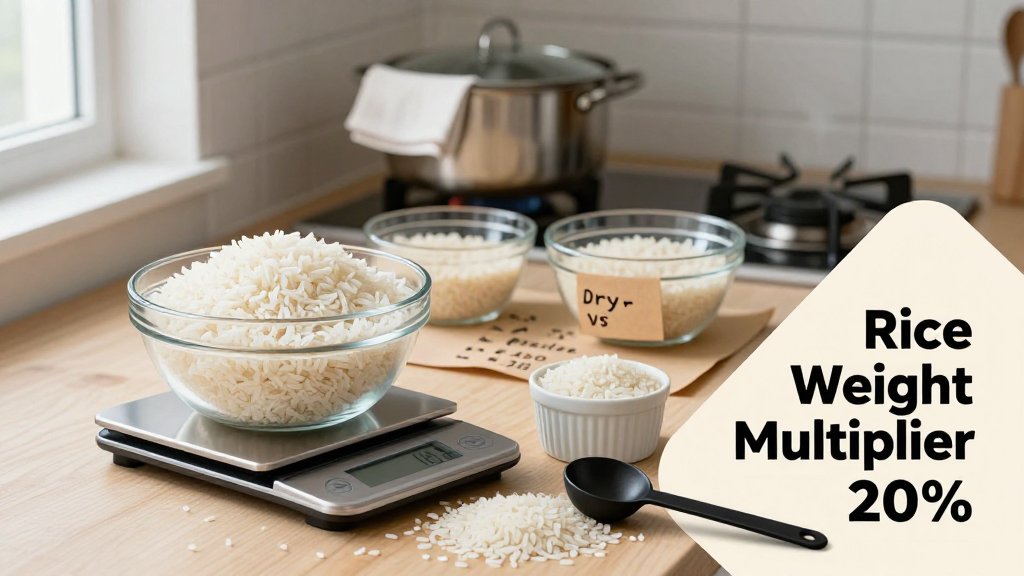
The quick answer: cooked rice weighs about 2.5x to 3.5x dry
Here is the quotable rule: cooked rice usually weighs about 2.5x to 3.5x the dry weight. Most white rice lands around 3x cooked weight, brown rice often sits closer to 2.5x to 3x, and very wet methods (think congee-style simmering) can push well above that. A nice reality check is that large foodservice yield charts also land near these ranges. For example, the USDA rice yield table lists common cooked yields per cup of dry rice that cluster around roughly triple by volume, which usually translates to a similar “about 3x” feel when you switch to grams.
That jump in grams is water weight, not extra calories. The dry rice still contains the same energy and macros it started with, you just spread it across a heavier, wetter cooked portion. Concrete example: 60 g of dry jasmine rice commonly ends near 170 g to 210 g cooked. If you cook it on the firm side (less water absorbed, more steam loss), you might end up around 170 g to 185 g. If you like it softer and you let it sit covered longer, 190 g to 210 g is normal. This is why two people can both “cook 60 g” and still argue about what one serving “should” weigh.
For meal prep math, do it backward from the portion you want to eat. Step 1, pick a multiplier that matches your style (start with 3x for most white rice). Step 2, pick your cooked portion target in grams (for many bowls, 150 g to 220 g cooked is a common range). Step 3, back-calculate dry grams: dry grams = cooked target ÷ multiplier. Example: you want 180 g cooked rice for a lunch box and you use 3x. 180 ÷ 3 = 60 g dry. Want four containers at 180 g each? That is 720 g cooked total, so 720 ÷ 3 = 240 g dry. You can do that math in your head while the kettle boils.
Pick a multiplier, then stick with it. If your target is 180 g cooked and you use a 3x rule, weigh 60 g dry, cook it, rest 10 minutes, then portion by cooked grams.
If you are doing this alongside other “convert volume to weight” jobs, the same mindset applies: pick a repeatable method, then label your results so you stop redoing math. For makers, the grams-first approach is also why resin and silicone shops track mold fills by weight. If you bounce between the kitchen and the craft table, you will probably like resin mold volume to grams math for the same reason: it turns messy estimating into a quick repeatable rule. And if you are away from your kitchen scale, a photo-based tool like Scale for Grams can give you a fast estimate to sanity-check portions.
Why your results differ: rice type, rinsing, and how dry you let it steam
Rice type is the biggest reason your multiplier drifts. Long-grain white (like jasmine and basmati) often hits that clean 3x feel because the grains stay separate, absorb predictably, and do not trap as much extra surface water. Short-grain and sushi rice can feel heavier for the same dry grams because the starchier exterior holds onto more water and the cooked rice packs tighter in a container. Brown rice often lands lower than white for the same “bite” level because the bran layer limits how fast water penetrates, so many people stop cooking while the center still has a little chew. Rinsing also nudges things: rinsing and draining removes loose surface starch, which can slightly reduce stickiness and how much water clings to the outside of the grains.
Timing is the sneaky mistake: weighing the rice right when the heat turns off versus after a 10 minute covered rest can change the number you see. During that rest, moisture redistributes from the outside to the center of each grain, and excess surface steam either reabsorbs or vents depending on the lid seal. If you scoop immediately, you may catch extra surface water and get a higher cooked weight, plus a wetter texture on top. If you rest and then fluff, you drive off a bit more steam and your cooked grams can drop, even though the bowl looks “more done.” Evaporation rate matters too. A wide pot with a loose lid loses more water than a tight-lid saucepan or a rice cooker, so two identical dry weights can finish with noticeably different cooked weights.
The fastest way to make your numbers consistent is to standardize your process for one week, then write down your personal multiplier for that exact routine. Cook 100 g dry rice the way you actually like it (same pot, same lid, same rest time), then weigh the entire cooked batch. If it comes out to 290 g, your multiplier is 2.9x. If it comes out to 330 g, your multiplier is 3.3x. Put that multiplier on a sticky note inside the pantry door and portion by cooked grams from there. This is also handy for small business shipping and jewelry work because it trains your “grams intuition.” You start spotting when something feels 30 g heavier than expected, even before you confirm it on a scale.
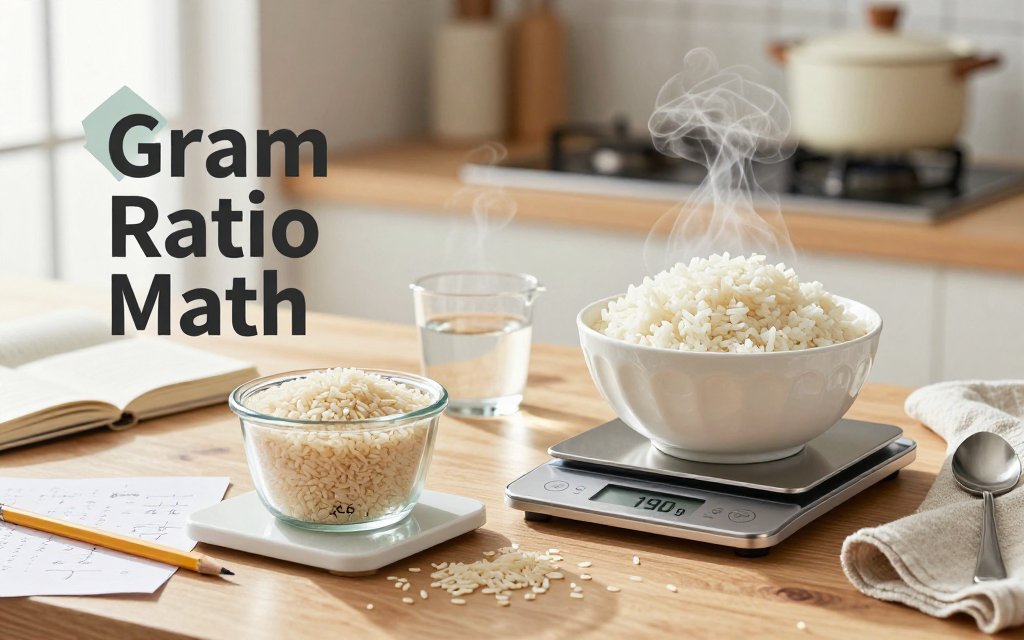
Meal prep portion math: grams, ounces, and servings
Meal prep gets dramatically easier once you pick a cooked-rice weight target and stick to it. “One cup” is a moving target because rice can be fluffy, packed, sticky, or wet, and the same container can hold different weights depending on how you scoop. Weight is repeatable, which is why bakers and shippers love grams. As a reality check on how much rice expands, the USDA grains yield table shows that dry rice commonly turns into multiple cups cooked, depending on type. In other words, plan your portions in cooked grams, then back-calculate the dry grams you need to cook once and portion all week.
Cooked rice serving size in grams for real life meals
Use these cooked weight targets as “grab-and-go” anchors. A light side portion is 100 g cooked (about 3.5 oz). That is great next to salmon, stir-fry, or curry when rice is not the main calorie driver. A typical bowl is 150 g to 180 g cooked (about 5.3 oz to 6.3 oz), which fits most lunch containers without crowding out protein and vegetables. A big post-workout plate is 220 g to 250 g cooked (about 7.8 oz to 8.8 oz), handy for higher-carb training days. These are weight targets, not volume, because two “cups” can weigh very different amounts based on fluffiness and moisture.
Here is how those numbers play out in real meals. For fitness tracking, many people like 160 g cooked as a steady default because it lands in the “typical bowl” zone and is easy to repeat across containers. For family-style dinners, you can aim per person instead of per container: 100 g cooked for a lighter eater, 180 g cooked for an average adult plate, and 250 g cooked for a teen athlete or anyone intentionally pushing carbs. If you are packing rice under saucy foods (teriyaki chicken, tikka masala), expect the rice to absorb moisture in the fridge and feel heavier tomorrow, so keep weighing the rice itself first, then add toppings.
Back-calculate dry grams for your containers and weekly plan
The repeatable method is simple: pick your cooked portion target, multiply by how many servings you need, then divide by your cooked-to-dry ratio from your notes (or from last batch). Example: you want 6 containers at 160 g cooked each. Total cooked needed is 6 x 160 g = 960 g cooked. If your rice averages a 3.0x yield (meaning 1 g dry becomes about 3 g cooked), cook about 960 g ÷ 3.0 = 320 g dry rice. Cook that batch, fluff it, then portion 160 g into each container. If you end up with extra, you just learned your real ratio is slightly higher.
Now scale it to a weekly plan so you only cook once. Say you want 5 lunches at 180 g cooked (900 g cooked total) plus 2 family dinners where 4 people eat 150 g cooked each (1,200 g cooked total). Your week needs about 2,100 g cooked rice. If your usual yield is 3.2x for jasmine rice in your pot, you need 2,100 g ÷ 3.2 = about 656 g dry. Round to 660 g dry for simplicity. If you also ship meals or sell products, this is the same math as packaging: set a target finished weight, then work backward from process gain so every unit is consistent.
Add a buffer and keep it honest with one quick habit. If you always end up short, bump the dry rice by 5 percent next batch and write down the new ratio. For the 320 g dry example, 5 percent is 16 g, so try 336 g dry next time. If you overshoot and hate leftovers, drop the dry by about 5 percent. The key is to record what you actually got: weigh the entire cooked batch after cooking (pot weight minus cooked rice weight, if you can), then divide cooked grams by dry grams to get your real yield. And if you are estimating without a physical scale, a photo-based tool like Scale for Grams can help you sanity-check a portion in grams or ounces before you seal the lid.
Weigh rice without a scale using photo estimates
If you are plating lunch boxes, portioning burrito bowls for a pop-up, or packing small orders at a shipping desk, the goal is usually consistency, not lab-grade precision. A no-scale workflow starts with two habits: use the same container every time, and capture the same camera angle every time. For rice, that can be one specific meal prep container (for example, a 2-cup compartment in a glass container) or one specific bowl. Once you learn what your “normal serving” looks like in that exact container, photo estimates can keep you close enough to hit your meal prep targets even when your kitchen scale is missing or you are away from home.
A practical workflow that holds up in real kitchens is: pick a container, pick a fill level, and stick to it. Example: You decide that cooked rice for your weekday lunches will be 150 g, and you notice that in your square 3-cup container it covers the bottom in a smooth layer about 1 cm thick. The next time you cook rice, you do not have to guess from scratch. You fill to that same visual thickness, level it with a spoon, and snap a photo to sanity-check the estimate in grams. The same approach helps small studios, too, like a jewelry maker who also meal preps, because repeatable containers and repeatable photos make repeatable numbers.
Reference objects make photo estimates more reliable because they give the camera a size clue. In a pinch, use what is already on your counter: a standard credit card, a US quarter, or the same spoon you always use for scooping rice. Place the reference next to the rice, not on top of it, then take a top-down photo in bright, even light. With a photo-based estimator like Scale for Grams (iOS), you can get a quick gram estimate, then adjust by eye: if the app says 165 g and your target is 150 g, remove a spoonful and retake the photo. Shipping-friendly bonus: this same “same box, same reference, quick photo estimate” habit can help you approximate package weight before printing a label, especially for repeat orders in the same mailer size.
FAQ: How many grams cooked rice from 100 g uncooked?
For most white rice, expect about 280 g to 330 g cooked from 100 g dry, and a good planning number is 300 g cooked. For brown rice, it is often 250 g to 300 g cooked from 100 g dry. Your exact number depends on how much water you use and how much cooks off as steam. A tighter lid, a rice cooker, or resting the rice covered can push you toward the higher end. A wide pot simmering hard with the lid cracked usually lands lower because more water escapes.
FAQ: What is 150 g cooked rice in ounces, and is that one serving?
150 g cooked rice is about 5.3 oz (using the exact factor in the NIST conversion table). Is it one serving? For many adults, 150 g cooked rice is a common meal prep serving as a base carb portion, especially if the bowl also has protein and vegetables. Smaller appetites often prefer 100 g, and higher activity days might use 200 g or more. The best move is to pick one target serving weight and keep it consistent so your tracking stays meaningful.
FAQ: What is the easiest way to estimate rice weight without a scale?
Use the same container or bowl every time, learn what one known weight looks like once, then reuse that visual reference. For example, weigh 150 g cooked rice at home one time, note the fill height in your favorite bowl, and take a quick reference photo. Later, you can match that look and use your phone camera with an AI scale app to estimate grams from a photo when you are away from your kitchen scale. This repeatable-container trick also works at a shipping desk: if you ship in the same box size, a fast photo estimate helps you choose a label tier before you commit.
Need to weigh something fast when your kitchen scale is not nearby? Download Scale for Grams and get an AI-powered weight estimate from a photo in seconds, which is perfect for meal prep, leftovers, and portion checks on the go. Grab it here: iOS. Try it the next time you are packing rice, and save your favorite estimates for quicker tracking.
Scale for Grams
Need to Weigh Something?
Download Scale for Grams and get an AI weight estimate from a photo in seconds.