Fake LEGO Minifigs? Use Weight to Verify
A fast, practical way to spot counterfeit LEGO minifigures is to check weight. This guide shows what to weigh, the gram ranges that matter, and how to estimate weight from phone photos when you do not have a scale.
Buying LEGO minifigs online can feel like a gamble because photos often hide the tiny tells that separate genuine parts from convincing fakes. Weight is harder to fake, and a quick gram check can reveal red flags before you trade, resell, or add a figure to your collection. In this guide, you will learn how to use weight as a practical screening test, what results actually mean, and a simple step-by-step workflow that helps buyers and sellers verify faster.
Does LEGO minifigure weight expose fakes?
Weight will not “prove” a minifig is real, but consistent weight is one of the fastest ways to spot a problem. Authentic LEGO parts are injection-molded to tight tolerances, so a real head, torso, and legs set that matches another real set tends to land in a very similar weight band when you compare like-for-like. Counterfeits often use a different plastic blend, different internal wall thickness, or sloppier molding, and those differences show up on a sensitive scale. Think of weight as a red flag detector, not a courtroom verdict. If a listing photo looks fine but the weight is off by a noticeable amount, it is worth slowing down and checking stamps, clutch, mold lines, and print quality before you buy or resell.
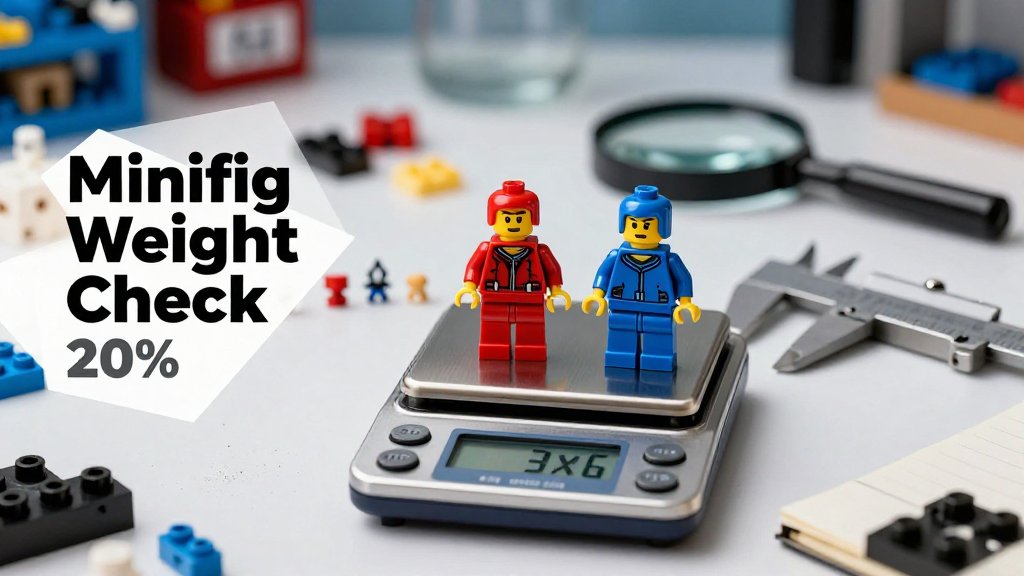
If two minifigs are truly the same build (same head, torso, legs, hands, and accessories), their weights should be close. A consistent gap, like 0.3 g to 0.8 g, is your cue to inspect plastic quality and molds.
Here is what weight can and cannot tell you. Weight can catch obvious material differences, hollowing, or over-thick parts, which is common in cheaper clones. Weight generally cannot detect a well-made fake that copied the mass closely, and it cannot tell you if a figure is “official” if it is a legit part swap (real head plus real torso from different characters). Also, your tool matters. A kitchen scale that only rounds to the nearest 1 g is too blunt for most minifigure checks. If you want to use weight seriously, aim for 0.01 g resolution. If you are estimating quickly from photos, an app like Scale for Grams can give you a fast ballpark, but for minifigure authenticity you still want a real scale for the final comparison.
The quick weight logic buyers actually use
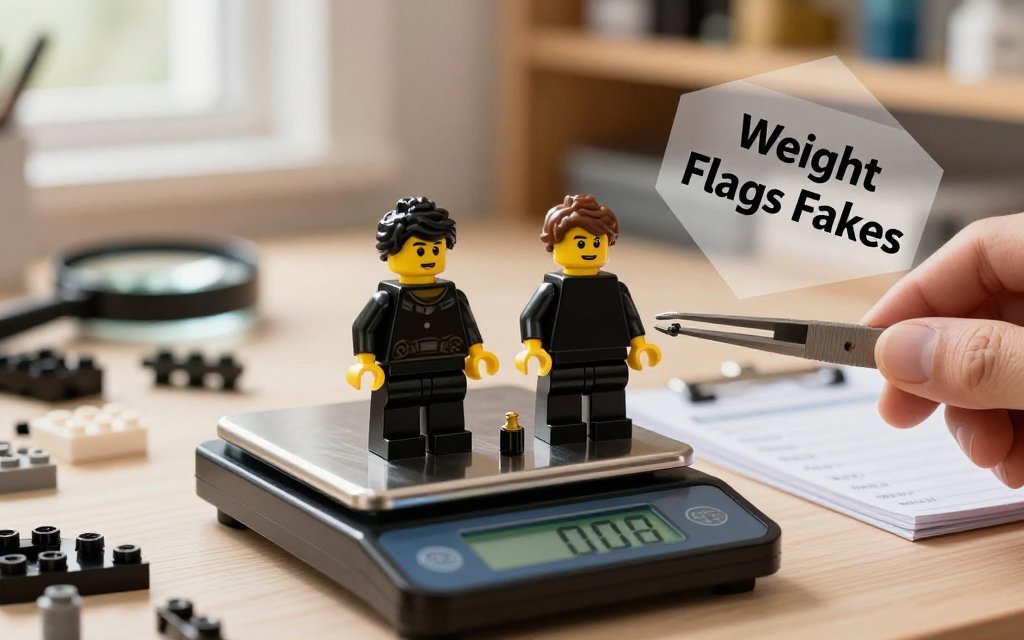
The practical rule is simple: compare like-for-like assemblies, with the same accessories, in the same condition. That means same hairpiece or helmet, same weapon, same cape or no cape, and even the same style of hands (some clones have softer hands). People worry about paint, dirt, UV yellowing, or moisture, but those rarely change weight enough to matter at the minifig level. A tiny bit of dust is not going to add 0.5 g. The bigger swing comes from wrong plastic density, extra-thick walls, or sloppy molding that leaves more material inside the part. If two “genuine” listings show the same character, but one feels noticeably heavier in-hand, treat that as a prompt to weigh and compare before trusting the lot.
Example scenario: you buy two copies of the same minifig for your BrickLink-style store, both advertised as genuine, both shown assembled with the same hair and accessory. You weigh Minifig A at 3.62 g and Minifig B at 4.15 g on a 0.01 g scale. That 0.53 g gap is too large to shrug off as “printing” or “age.” The next move is to break the figures down and re-weigh: head-only, torso-with-arms, and legs. If the torso chunk is the outlier, you just narrowed the suspect part quickly. This is also practical for shippers and small makers: if you are packing ten minifigs and one bundle is mysteriously heavier by several grams, weight becomes a fast sorting tool before you waste time on microscope-level inspection.
What to weigh: complete minifig, torso, legs, or heads
If you want a clean process, use this simple decision tree, and stick to it every time so your numbers stay comparable:
- Already assembled and complete: weigh the assembled figure first, then only disassemble if the total seems off.
- Buying a parts lot: weigh key parts that are commonly swapped (torso, legs, and head) instead of trying to reconstruct a “complete” figure you do not actually have.
- Accessories present: either remove all accessories (weigh bare minifig only) or keep accessories on for every comparison, but do not mix methods.
- Soft goods (capes, skirts): remove them for the main check, then weigh them separately if you need to confirm a complete kit.
Accessories are the easiest way to accidentally fool yourself. A cloth cape, a backpack, a large molded hairpiece, or even a display base can add enough mass to hide a lighter clone body underneath, or make a genuine figure look “too heavy” compared to a stripped reference. A good habit is to define a standard like “head + torso + legs only, no hair, no tools.” When you do need a real-world reference weight, use a catalog source that clearly states what is included. For example, BrickLink lists BrickLink listed weight of 4.07 g for “Goliath (Minifigure Only without Stand and Accessories),” which is exactly the kind of precise, apples-to-apples wording you want when comparing.
The most common mistakes I see in listing comparisons are boring, but they cause the biggest “false alarms.” People compare a weighed minifig to someone else’s number that included a base, a weapon, or a cape. They forget some figures are missing hands (yes, that matters), or they compare a wet, freshly washed lot to a dry reference. Another big one is unit confusion: a seller says “4.0” and you assume grams, but their scale is set to ounces and it is really 0.40 oz (about 11.3 g), which is a totally different story. If you like using weight as a quick authenticity filter, it helps to think like other material checks too, such as fabric GSM estimation without tools, where consistency and measurement method matter as much as the number.
How to do a counterfeit weight check
A weight check is most useful when you treat it like a controlled experiment: same parts, same accessories, same measuring method, then compare the numbers. That is what makes it helpful for LEGO minifigs, and also why the same habit works for baking by weight, shipping labels, and jewelry components. Plastic blends, molding density, and even how thick a part is can shift the final mass. Your goal is not to prove authenticity from a single reading. Your goal is to screen for “this is close enough to pass” versus “this is far enough off that I should inspect it harder” before you spend more time or money.
A simple workflow with real numbers to watch
Start by choosing the best measuring tool you have. A 0.01 g jewelry scale is ideal for small parts because it shows tiny differences clearly. A typical kitchen scale often reads in 1 g steps, which is fine for shipping and food portions, but too blunt for minifigs. If you are using a small scale, tare a lightweight cup, bottle cap, or a zip bag first, then add the minifig so it does not roll off. Also decide up front how you will handle accessories. A cape, backpack, hair piece, or tool can easily change the reading by a few tenths of a gram, which can create false alarms if you forget to remove it on one figure.
Now interpret the difference with realistic thresholds. If your scale only shows 0.1 g steps, differences under about 0.1 g are often just noise, especially if the figure is slightly off-center on the platform or you bumped the table. A difference around 0.2 to 0.4 g is the “double-check” zone: reweigh, confirm you removed the same accessories, confirm both figures have the same head type, hands, and leg assembly, and look for swapped parts from different eras. A difference of 0.5 g or more on a like-for-like comparison is a strong red flag for material or molding differences. Example: if your reference is 3.20 g and the suspect is 2.65 g, that 0.55 g gap is big enough to justify deeper checks.
If you do not have a physical scale available, you can still run a quick screening pass with a photo-based estimate in Scale for Grams. The trick is to keep your setup consistent: use the same background, similar lighting, and include a reference object in each photo (for example, a US quarter or a standard credit card) so the app can interpret size more reliably. Take one photo of your known-genuine reference figure and one photo of the suspect figure, both posed flat, both with accessories removed. Treat the results as a triage tool, not a courtroom verdict. If the app suggests a gap close to 0.5 g, that is your cue to borrow a 0.01 g scale and confirm with a true weigh-in.
Weight checks work best when you control variables. If one figure has a fabric cape, a backpack, or paint wear, weigh those separately. You are trying to compare plastic to plastic, not extras.
To make the process repeatable, write down what you actually weighed. Note “bare figure only” versus “with hair and blaster,” and if you mixed parts, list them (head, torso, legs). That habit helps in other areas too. Small business shipping gets easier when you can tell whether the package weight changed because you switched from a padded mailer to a small box, not because your label printer is “off.” Jewelry makers do the same thing by weighing stones and findings separately, then confirming the assembled piece matches the sum within a small tolerance. The big idea is simple: isolate one variable at a time so you can trust the number you are looking at.
Grams to ounces for collectibles and shipping listings
US listings often show ounces, but grams are where small discrepancies are easiest to see. For everyday (avoirdupois) ounces used in shipping, the exact relationship is 1 g = 0.03527396 oz, which many sellers round to 0.0353 oz for convenience, and 1 oz = 28.349523125 g. Those values come from official conversion factors. In practical terms: 1 g = 0.0353 oz, 10 g = 0.353 oz, and 30 g is about 1.06 oz. (govinfo.gov)
Rounding is where buyers get misled. If a seller rounds a minifig lot to the nearest ounce, two lots that differ by 0.4 g (about 0.014 oz) will look identical on paper, even though 0.4 g is right in the “double-check” zone for a like-for-like minifig comparison. It is similar to food tracking: a 5 g drizzle of olive oil does not sound like much, but it is still measurable if you keep everything in grams. When you are messaging a seller, ask for the weight in grams and ask whether accessories are included in that number. For shipping, record both values in your own notes: “32.0 g (1.13 oz) bare figures” is far more actionable than “about 1 oz.”
No scale? Estimate minifig weight from photos
If you are checking minifigs while traveling, meeting a local seller in a parking lot, or deciding whether to bid on an online lot, you do not always have a pocket scale handy. That is where Scale for Grams can help as a practical workaround. You snap a clear photo and the app estimates weight in grams, ounces, or kilograms, which is often enough to decide, “This lot looks roughly right,” or “Something feels off.” Think of it like a fast filter, not a courtroom verdict. For small, lightweight plastic parts, even a 1 to 2 g swing can matter, so the goal is a useful estimate that helps you compare, not a perfect lab number.
Photo-based estimates do best when you use them to compare like with like. Example: a seller lists “20 minifigs with a few accessories.” A typical plain minifig (head, torso, legs, hands) is only a few grams, so 20 minifigs often land somewhere around 60 to 90 g depending on prints, arm types, and add-ons like capes, hair, backpacks, tools, or animals. If your photo estimate comes back closer to 30 g, it may be missing bodies or be heavy on empty space and light on actual figures. If it comes back at 160 g, you might be looking at extra parts, metal keychains mixed in, or non-LEGO items. That is useful when you are screening lots quickly.
Accuracy gets harder as objects get smaller and shinier, and minifig parts hit both problems. A head or hand is tiny, and a small error in how the phone interprets edges can move the estimate noticeably. Dark parts on dark tables also blend in, and glossy plastic can create bright highlights that confuse the outline. Accessories are another source of spread: a plain figure is light, but adding a helmet, backpack, and blaster pushes the total up. A cloth cape or skirt adds little mass but changes the silhouette a lot. The best mindset is: use photo estimates to spot big inconsistencies, then confirm with other checks like markings, clutch, and print quality.
How to improve phone photo weight estimate accuracy
Treat your photo like a product shot, not a casual snapshot. Your phone can only estimate what it can see clearly, so you want sharp edges and predictable scale. Bright, even light is the biggest upgrade you can make, a sunny window with a thin curtain works great. Use a plain background (white paper, a cutting board, or a solid placemat) so small hands and accessories do not disappear. Most importantly, include a known size reference so the app can judge scale, like a US quarter (24.26 mm diameter) or a standard LEGO plate. Keep the camera parallel to the surface so the minifig is not “leaning away” in perspective.
For meetups and local buys, a simple routine works well: first photo is the assembled figure standing or lying flat next to your coin reference. Second photo is “parts laid out,” which helps when a bulky backpack hides torso details or when a cape covers the legs. If Scale for Grams gives you estimates that are close across both photos, that is a good sign that your setup is stable. If the estimate jumps a lot, retake with better lighting or a more parallel camera angle. Set expectations properly: photo estimates are best for screening listings, comparing two lots, and spotting outliers (like “this lot is half the expected weight”), not for proving authenticity by themselves.
What is the typical LEGO minifigure weight in grams?
A standard assembled minifigure is usually only a few grams. In real-world sorting, many plain figures land around 3 g, and it is common to see 4 g to 6 g once you add a helmet or hair piece, a backpack, a weapon, or a display base. Big specialty parts can push higher, for example large molded armor, an oversized hair element, or heavy multi-part accessories. Use this as a sanity check: if a “plain” figure photo-estimates far below a couple grams or above roughly 7 g to 8 g, it is worth double-checking what is actually included.
Can weight alone prove a minifigure is authentic LEGO?
No. Weight is a helpful signal, but it is not a standalone proof. A convincing fake can weigh close to a real figure, and a real figure can weigh “wrong” if it has swapped parts, paint, glue, or non-LEGO accessories mixed in. Weight works best as a consistency test: does the figure match the expected weight range for what you can see in the photo, and does the lot weight make sense for the stated count? After that, use weight alongside other checks such as the LEGO logo on studs or neck, print crispness, color matching between torso and arms, and how the joints feel (too loose or too tight can be a red flag).
Does LEGO minifigure mystery bag weighing still work?
Sometimes, but it is far less reliable than it used to be. For older foil mystery bags, weighing could work if you had a very precise scale and a trustworthy weight chart, because a unique accessory might shift the total by a noticeable fraction of a gram. Recent Collectible Minifigures changed packaging, including a move where some series switched from bags to boxes, which adds extra variables like cardboard, glue, and batch differences. If you are trying “mystery bag weighing” anyway, treat it as a rough hint, and combine it with other methods and seller-friendly behavior.
Need to weigh something fast when you do not have a scale nearby? Download Scale for Grams and get an AI-powered weight estimate from a photo in seconds. It is a quick way to sanity-check listings, compare parts, and spot potential mismatches before you buy or ship. Grab the app here: iOS, then try it on your next minifig photo and keep your verification workflow moving.
Scale for Grams
Need to Weigh Something?
Download Scale for Grams and get an AI weight estimate from a photo in seconds.