Scrap Copper Wire: Estimate Weight Before Selling
Estimate scrap copper wire weight at home using simple measurements or your iPhone camera, understand bare bright vs insulated grades, and figure out whether stripping wire is worth the time before you head to the scrapyard.
If you have ever hauled a bucket of scrap copper wire to the yard and felt confident about the weight, you already know how frustrating the scale ticket can be. A few pounds off can change your payout fast, especially once insulation and wire grade enter the picture. In this guide, you will learn practical ways to estimate copper wire weight at home, including quick measurements, an easy per-foot method, and a photo-based option on iPhone. You will also see when stripping insulation is, or is not, worth your time.
How to estimate scrap copper wire weight at home
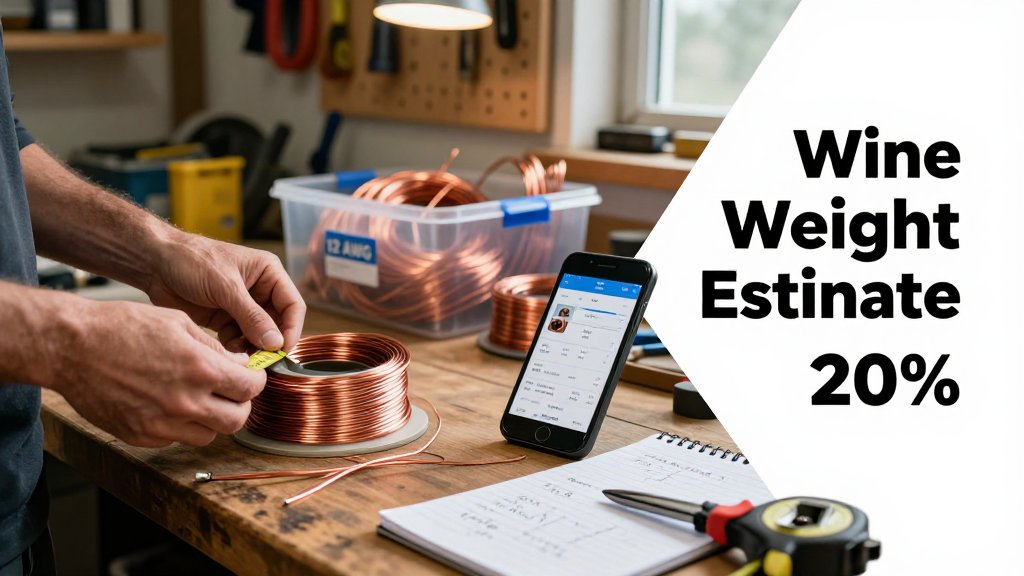
If you have a bucket of scrap wire and no scale, you can still get a surprisingly useful weight estimate at home. The trick is to stop “eyeballing” and use a repeatable method. Copper weight is driven by volume times density, and the density “hook” you can hang all your math on is 8.96 g/cm3 (see the NIST density table). From there, you have two practical paths: (1) estimate by wire length plus gauge (AWG), which is best for sorted piles; (2) use an iPhone photo estimate in Scale for Grams as a fast second opinion, especially when you are dealing with mixed odds and ends.
Fast method: length plus gauge beats guessing
Here is the quotable rule that makes wire estimates feel less like magic: weight comes from volume times density. For a round wire, volume is cross-sectional area times length. That means two pieces with the same length can weigh very differently if the gauge changes. A simple workflow that works on a garage floor is: sort your wire into separate piles by gauge, measure a known length (10 ft is easy), estimate the weight of that segment using a per-foot number, then multiply by the total length you have. Even if you do not know every AWG size perfectly, separating “thicker” from “thinner” piles reduces the biggest source of error: mixing gauges.
To make the math concrete, use one or two “known gauge” examples as anchors. Solid 12 AWG copper has a standard conductor area of about 3.31 mm2. Converting units, that is 0.0331 cm2. One foot is 30.48 cm, so the copper volume per foot is about 0.0331 x 30.48 = 1.009 cm3. Multiply by copper density (8.96 g/cm3) and you get about 9.0 g per foot (about 0.32 oz). For 14 AWG (about 2.08 mm2), the same calculation comes out near 5.7 g per foot (about 0.20 oz). If you accidentally mix 12 AWG and 14 AWG in one “average” pile, your total can swing by roughly 35% to 40%, which is noticeable when you are selling by the pound.
Insulation and end hardware are the other big “gotchas.” If you are estimating the copper content (not the whole insulated cable), be consistent about what you are counting. A practical approach is to strip the same length from a few pieces in the same pile and compare like with like, because bare copper and insulated copper of the same gauge will not weigh the same per foot. Also watch for non-copper ends: crimp lugs, solder blobs, screws, and even short steel pins can inflate what you think is “copper weight,” while reducing your payout if a yard downgrades the load. Measuring coiled wire can fool you too, because stacked coils hide length and make rough volume guesses look heavier than they are.
If you only remember one thing, copper weight is volume times density. Sort by gauge, measure a clean sample length, and double-check with a top-down photo. Mixed gauges and terminals can throw your estimate off fast.
Photo estimate on iPhone: sanity-check your math
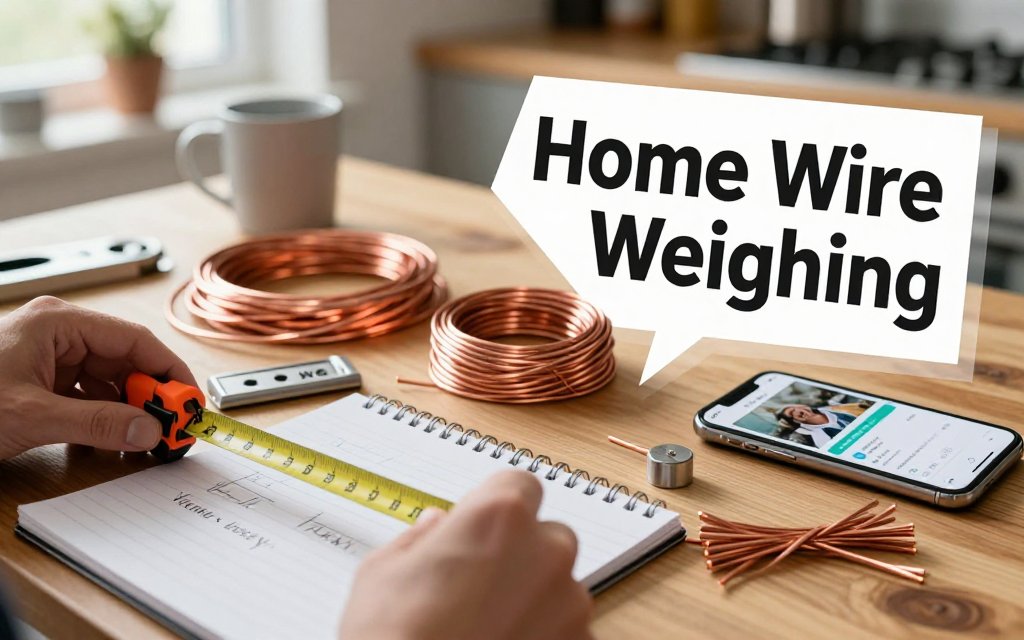
After you do a quick length plus gauge estimate, use Scale for Grams on iPhone as a “second opinion,” especially if your pile is messy, mixed, or partly insulated. The setup matters more than people expect. Lay the wire flat in a single layer, not stacked in a tall coil, because stacked layers hide shape and can throw off the visual volume estimate. Spread the coil into a loose circle or gentle S-shape so the camera can see the full width consistently. Include a common reference object in the frame (something like a standard card-sized object works well), shoot in bright even lighting, and take the photo from directly above so the wire thickness does not get exaggerated by perspective.
Treat the photo result as a range check, not a courtroom number. For example, if your length plus gauge math says a pile of 12 AWG bare copper should be around 450 g (about 1.0 lb) and the photo estimate comes back closer to 300 g, that is a prompt to re-check for mixed gauges, aluminum mixed in, or a length mistake (coils often “feel” longer than they are). On the flip side, if the photo estimate looks heavier than expected, look for hidden weight like thick insulation, soldered ends, or a bundle that is actually multiple wires taped together. The goal is fewer surprises before you drive to the yard.
This same photo-first habit is useful beyond scrap. Small business owners can sanity-check a box before printing postage, jewelry makers can estimate a handful of copper jump rings in grams, and home cooks can keep portion sizes consistent without digging out a kitchen scale. The skill is basically “estimate by sight, then verify with a quick tool,” which is also why people like estimate remaining yarn weight when they are trying to finish a project without running short. For wire, the best routine is: sort and measure when you can, then take one clean photo to confirm you are in the right ballpark in grams or ounces.
Bare bright vs insulated: what changes your payout
Scrapyards are not trying to be picky for fun, they are pricing how much work it takes to turn your pile into clean, melt-ready copper. Clean, bare copper wire usually pays the most because it can be processed fast and yields predictable metal. The moment insulation, solder, paint, or mystery metal shows up, the yard has to assume lower copper recovery and more labor (stripping, chopping, sorting, or rejecting). The big win before you drive over is simple: separate your copper into a couple of clear “buckets” at home, so the scale ticket reflects the best grade you truly have, not the worst piece in the mix.
Bare bright vs #1 vs #2: quick sorting rules
Most yards lean on industry-style definitions that look a lot like the scrap specifications used across North America. If you want to see how closely many yards follow those standards, skim these ISRI copper specs style descriptions. In plain language, the grade is mainly about purity and surface condition: bare bright is the cleanest wire (bright and bare), #1 is clean copper that might be dull but has no real contamination, and #2 is copper that is still copper, but has “stuff” attached or baked in. The yard will often downgrade the whole bundle if too many pieces look questionable.
Bare bright is the “gold standard” for wire: bare, uncoated, unalloyed copper that looks bright and clean, with no insulation, no solder, no burned spots, and no crusty green corrosion. Think freshly stripped building wire where the copper is that orange-penny color all the way around. Real-life home examples include THHN/THWN-type single conductors from a remodel after you strip them clean, or thick solid copper conductors pulled from a panel run after the jacket is removed. If you can rub it with a dry paper towel and the towel stays mostly clean, and the copper stays bright without sticky residue, you are usually in bare bright territory.
#1 copper is still high value, it just is not “perfectly pretty.” It can be clean copper wire or clean copper tubing that is free of soldered joints and fittings, but it may be slightly tarnished or darker from age. Many people land in #1 after stripping wire that has minor oxidation, or wire that was stored in a garage for years and lost the shine. #2 copper is where contamination starts costing you: heavy oxidation, soldered ends, paint overspray, enamel or varnish coatings (common on motor windings), or anything that looks “not pure copper.” Common household culprits are appliance leads with solder blobs, old dehumidifier or AC wiring with crusty ends, and copper pipe with soldered elbows that cannot be fully cleaned off.
Insulation and non-copper parts: the hidden weight problem
Insulated wire is tricky because you are not being paid as if 100 percent of that weight is copper. Yards often buy insulated wire based on expected copper recovery, which depends on conductor thickness and insulation type. Thin communication cable, earbuds, and USB cords can be mostly plastic by weight, so they get a low payout category even if the copper inside is clean. On the flip side, thick power cable with a heavy copper core can earn a better insulated-wire rate because the copper percentage is higher. A practical example: two boxes can both weigh 10 lb (4.5 kg), but the box of chunky single-conductor wire can contain far more copper than the box of phone chargers and skinny cords.
Non-copper add-ons are the other silent payout killer because they add weight in the wrong category. Brass plugs on extension cords, copper lugs with steel screws, ring terminals, crimps, and even thick heat-shrink can push your “wire” pile toward a lower grade or at least a lower-per-pound bucket. A fast habit that helps is cutting off ends and tossing them into a separate “ends and connectors” container. Even small pieces add up: if you have 25 power cords and each plug end weighs about 1 oz (28 g), that is roughly 25 oz (about 1.6 lb, or 700 g) of non-wire material mixed into what you thought was copper wire. Yards may pay it as insulated wire or mixed metal, not as clean copper.
Use this mental check before you bag anything up: if about 20 percent of what you see is plastic, rubber, or “other stuff,” your payout per pound usually drops more than you expect. That is because you are paying the yard, indirectly, for the disposal and processing of that non-copper weight. Sorting does not need to be complicated. Bring two or three clearly separated piles: stripped bright-looking copper wire, stripped but dull or questionable copper (solder, dark varnish, painted bits), and anything still insulated. If you are unsure where something belongs, keep it out of your best pile and ask at the counter. A clean load that is easy to grade is the one that tends to get the best pricing without debate.
Is stripping copper wire worth it before selling
Stripping insulation can raise your payout, but it is not automatically “free money.” In practice, stripping is only worth it when you have (1) enough total copper to matter, (2) insulation that comes off quickly, and (3) a meaningful price jump between insulated wire and bare copper at your local scrap yard. If you are staring at a small tote of mixed phone chargers, skinny stranded leads, and brittle cords, you will usually earn more per hour by selling it as-is and spending your time on something else. The goal is simple: estimate the extra dollars you would gain from stripping, then compare that to what your time is worth.
A simple break-even check using your estimated weight
Use this quick break-even math before you touch a wire stripper: start with your estimated total weight of insulated wire in pounds. Next, estimate your “copper-only” weight after stripping. A realistic recovery guess depends on the jacket: easy building wire (like THHN) often lands around 65% to 75% copper by weight, while thick-jacket cords can be closer to 50% to 65%. Then calculate the upside: (copper-only lb × bare price per lb) minus (insulated lb × insulated price per lb). Finally, divide that extra payout by the hours you expect to spend stripping. If the hourly return is lower than your personal hourly value, skip it.
Example: you estimate you have 30 lb of insulated wire. Your yard pays $1.20 per lb for that grade, so selling as-is is about $36. You think it is mostly easy-to-strip wire, so you assume 70% copper recovery: 30 lb × 0.70 = 21 lb of bare copper. If bare copper is $3.10 per lb, that payout is about $65.10. Your “stripping bonus” is $65.10 minus $36.00 = $29.10. If stripping takes you 2 hours, you made about $14.55 per hour. If it takes 4 hours, it drops to $7.28 per hour, which is where most people regret stripping.
A good default “when to skip it” rule is: skip stripping if you have under 10 lb total, if the insulation is gummy or fused, if the wire is very thin (lots of strands, little copper), or if your yard’s price difference is small (for example, less than $0.50 per lb). Also skip anything that creates risk. Do not burn insulation to “clean” copper, fumes are hazardous and many places treat it as illegal disposal. Avoid wire of unknown origin (for example, utility, railroad, or jobsite material you cannot prove you own), since yards can refuse it and it can create legal trouble. If you are unsure on quantity, do a fast photo-based estimate first, then only strip the high-value, easy-to-process bundle.
What is a good copper wire weight per foot estimate by gauge?
Good rule of thumb: use “lb per 1000 ft” tables, then divide by 1000 for per-foot weight. For solid copper, a handy reference is this copper wire gauge table: 12 AWG is about 19.77 lb per 1000 ft (0.0198 lb per ft), 10 AWG is about 31.43 lb per 1000 ft (0.031 lb per ft), and 4 AWG is about 126.4 lb per 1000 ft (0.126 lb per ft). Remember, insulation adds weight, and stranded wire can vary slightly due to air gaps and jacket thickness.
How do I estimate scrap metal weight without a scale?
Best quick method: estimate by length and known weight-per-foot, then multiply. Measure a representative sample length (like 10 ft of the same wire type), identify the gauge printed on the jacket (12 AWG, 10 AWG, and so on), convert to weight per foot, and scale up to the full length. If the pile is mixed, sort into 2 to 3 buckets by “looks similar,” then estimate each bucket separately and add them. If you cannot measure length, estimate volume and do a small “known piece” approach: cut one 12-inch piece, estimate its weight from a table, then count how many similar pieces you have. This gets you close enough for a stripping decision.
Can I weigh wire with my iPhone camera, and how accurate is it?
Yes, you can estimate wire weight with an iPhone camera, and accuracy is usually “decision-grade,” not lab-grade. A camera estimate is most helpful for answering, “Is this 5 lb or 30 lb?” which is exactly what you need for the stripping break-even check. To get the best result, spread the wire into a single layer, use bright lighting, include a common size reference (like a coin or a standard card), and avoid extreme close-ups that hide total quantity. Expect better accuracy with one consistent wire type than with a tangled mixed pile. For most people, the best default is: use the camera estimate to decide strip or not, then let the yard’s scale determine the final payout.
Need to weigh something fast before you sell? Download Scale for Grams and get an AI-powered weight estimate from a photo in seconds. It is a simple way to sanity-check your copper wire estimate, compare loads, and avoid surprises at the yard. Grab it here on iOS, then snap a photo and get an instant estimate to help plan your next trip.
Need to Weigh Something?
Download Scale for Grams and get an AI weight estimate from a photo in seconds.