Photo Weighing Setup Checklist: Get Accurate Results
A practical setup checklist for getting more accurate weight estimates from photo weighing. Learn the best lighting, angles, backgrounds, and reference objects for consistent gram and ounce results in the kitchen, for shipping, and for small products like jewelry.
You snap a quick photo over a cluttered counter, hit estimate, and then wonder why the number feels way off. Photo weighing is always an estimate, but your setup can make the difference between inconsistent guesses and repeatable results you can trust. In this checklist, you will learn how to stage your scene for better accuracy, from lighting and background to distance and angle. You will also get clear do-this-not-that tips that work for food, packages, and small items like jewelry.
The setup checklist that improves photo weighing accuracy
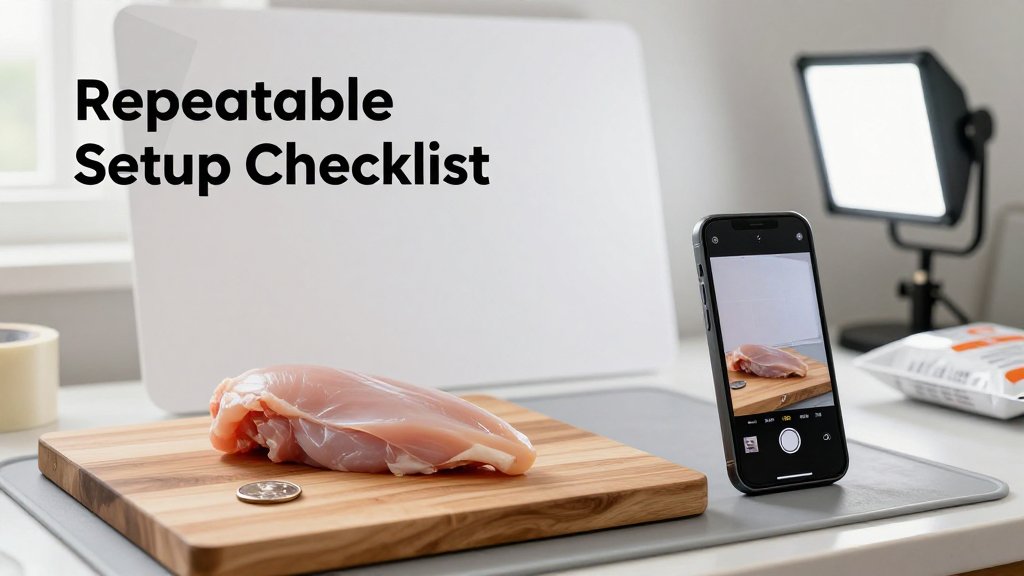
Accuracy comes from consistency, not fancy gear. A phone scale app can give surprisingly useful estimates, but only when your photos are repeatable. Think of it like baking by grams: you do not need a $300 stand mixer to get consistent cookies, you need the same method every time. For photo weighing, the method is simple: use a stable surface, keep the background uncluttered, include one reliable reference object, and shoot in predictable lighting. If you nail those four basics, you stop getting “random” results and start getting estimates that are close enough to portion a chicken breast, sanity-check a padded mailer, or compare two ring trays before you list them for sale.
Start with the surface and background, because they control everything your camera sees. A flat, matte surface helps the app read edges and size without glare. Good options include a wooden cutting board, a matte baking sheet, or a piece of poster board you keep with your shipping supplies. Bad options include shiny granite, reflective stainless steel, or a busy patterned tablecloth that “steals” the outline of your item. If you are weighing a 170 g to 225 g chicken breast for meal prep, a simple cutting board works great. If you are checking a 250 g to 500 g padded mailer, use a plain desk or cardboard sheet so the mailer edges stay clear.
Your 60 second checklist before you snap
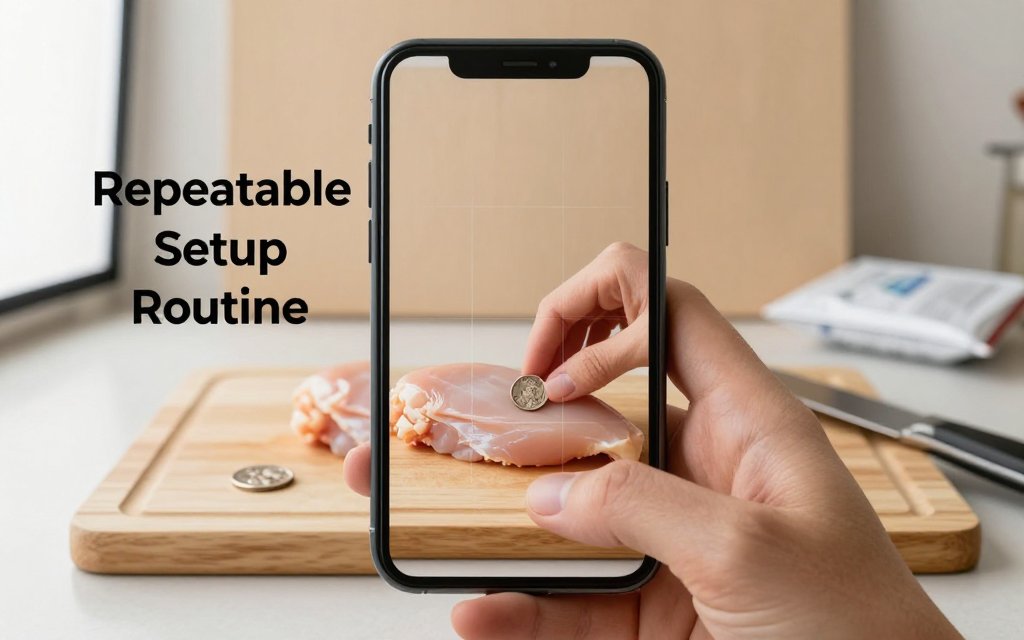
Here is a quick routine you can do every single time, and it takes less than a minute once it is a habit. The big idea is to control the scene so the only “new” thing in the photo is the item you want to estimate. Your reference object matters a lot here. Pick something you can repeat, like a US nickel (5.0 g) or a US quarter (5.67 g), and keep it in the same drawer as your cutting board or packing tape. If your goal is nutrition tracking, pair this routine with palm-to-grams macro tracking so you have a second, practical reality check when a portion is oddly shaped.
Put the checklist to work with real items you actually care about. For a chicken breast, set it on the same board each time, place the coin right next to it (not under it), and keep your phone level so the breast does not look wider on one side. For a padded mailer, smooth the air out first, then place your reference coin by the corner so the app can “see” scale without the coin being partially hidden by the bubble padding. For jewelry, do not estimate a single ring on a shiny mirrored tray. Use a matte ring tray insert, place the coin beside the tray, and take two photos because tiny blur can change edge detection on small items like a 3 g to 8 g band.
Pick one spot, one surface, one reference object, and one lighting setup. If the estimate looks off, do not chase it by moving everything. Lock the scene down, change one thing, and try again.
A common mistake: changing two variables at once
The fastest way to make results feel “unreliable” is to change lighting and angle between attempts. Example: you snap a photo of a mailer under warm kitchen lights, then you walk to a window, tilt your phone slightly, and try again. Now you changed brightness, shadow direction, color temperature, and perspective all at once, so the app has to interpret a completely different scene. It can look like the estimate is bouncing around, but what is really happening is that you are feeding it inconsistent inputs. The same thing happens with a chicken breast if one photo has a hard shadow and the next photo has overhead glare on wet skin.
Use one simple rule: change one thing, retest. If the number seems high, do not immediately move to a new room and also switch from overhead light to window light. Instead, keep the camera level and only adjust lighting (for example, rotate the cutting board 90 degrees to move the shadow off the item), then retake. Re-calibrate your mental expectations for items that are naturally hard to “read” from photos: oddly shaped portions (a curled chicken thigh vs a flat breast), reflective packaging (foil snack bags and glossy mailers), and mixed piles like trail mix where gaps and overlaps hide volume. For those, your goal is a quick, consistent estimate, not laboratory precision.
If you want an easy win, build yourself a tiny photo weighing station. Keep one matte board or cutting board, one coin for reference, and one reliable light source in the same place. Predictable lighting is the secret weapon, and soft light beats bright light. A window with a sheer curtain often gives smoother results than a bare bulb, because it reduces harsh shadows and glare. That is the same reason product photographers prefer soft indirect daylight for clean, consistent shots. Once your setup is consistent, the app output becomes much easier to trust for everyday decisions like portioning 40 g of nuts, estimating a 300 g package, or comparing two small batches of jewelry components.
Lighting, angle, and background: what actually matters
Picture this: you photograph the same 180 g ball of pizza dough on your counter twice. First shot is under a warm kitchen bulb at night. The dough looks slightly orange, the counter has a dark, sharp-edged shadow, and one side of the dough almost blends into the background. Second shot is taken near a window with bright, indirect daylight. Suddenly the dough edge is crisp, the shadow is faint with a soft transition, and the surface texture looks more even. For photo-based weight estimation, that difference is not cosmetic. The app is trying to “see” clean edges and a believable sense of volume. Harsh shadows can cut an item in half visually, and warm, uneven light can erase the boundary between item and surface, which makes size estimation jumpy from photo to photo.
Best lighting for accurate weight estimation photos
Your goal is bright, even light that produces “no hard shadow line.” A hard shadow line is the crisp, dark edge you see when a single lamp hits from one direction, like a spotlight. Instead, aim for soft, wrapped light that fades gradually from light to shadow. If you have a window, set the item about 1 to 3 feet from the window, but not in direct sun. If you are in a garage workbench or packing station with overhead lights, add a second light from the opposite side so the shadows fill in. This is the same reason product photographers rely on diffusion, because diffused light basics emphasize that diffused light is softer and avoids harsh shadows. (extension.purdue.edu)
Glare is the other big accuracy killer, especially if you photograph anything reflective. Common glare traps at home and at small businesses include glossy poly mailers, clear plastic clamshell packaging for berries, stainless mixing bowls, and polished jewelry blanks. Glare creates blown-out white patches that hide the true edge, and it can make a round object look flatter than it is. Quick fixes are simple: rotate the item (or the shiny surface) about 15 to 30 degrees so the bright reflection bounces away from the camera, swap to a matte cutting board or a sheet of kraft paper, and add a cheap diffuser. A plain sheet of printer paper held between the lamp and the item, not touching it, can soften the light enough to keep edges visible while reducing hotspots. Even a basic light-tent style setup is designed to reduce shadows by surrounding the object with diffused light. (en.wikipedia.org)
Background choice is part of lighting, because the background controls contrast. If you place a white-frosted cookie on a white plate under a bright light, the edge can disappear. If you place that same cookie on a dark, matte cutting board, the edge becomes obvious, and the shadow is easier to interpret. In a jewelry workflow, photographing a 7 g silver pendant on a mirrored tray is tempting because it looks nice, but the reflection doubles lines and confuses the outline. A boring background is better: matte black foam board, a plain wooden table, or even the back side of a brown cardboard shipping box. You are not styling a photo, you are making sure the object boundary is unambiguous so the volume estimate stays stable.
Angle rules: overhead is good, but level is better
Angle is where people accidentally sabotage an otherwise perfect setup. If your phone is tilted, the near side of the object looks bigger and the far side looks smaller. That is normal perspective, but it becomes a problem because the app is trying to infer real size from what the camera sees. Tilt can also make your reference object (like a coin, card, or known-size item) stop behaving like a reliable scale marker, because it is no longer being viewed straight-on. A simple way to say it is this: keep the phone lens parallel to the surface you are shooting. Overhead photos are often convenient, but “overhead and tilted” is the worst combination because the object gets stretched and the surface lines converge, which is the classic perspective distortion problem when the camera plane is not parallel to the subject. (en.wikipedia.org)
Two quick hacks make this easy in real life. First, use your body as a tripod: rest both elbows on the counter and bring the phone down until it is steady, then adjust your wrists until the phone feels flat relative to the work surface. Second, prop the phone on something dumb but reliable, like a mug, a small box, or a roll of packing tape, so the lens stays level while you line things up. Turn on the grid in your camera settings and use it like a bubble level: keep the counter edge parallel to a grid line, and keep the item centered so the wide-angle edges of the frame do not warp it. If your phone has a 0.5x ultra-wide option, avoid it for weighing photos; step back and use 1x or 2x so shapes look less “pulled” at the corners.
A second angle is worth the extra 3 seconds when height matters. Tall packages (like a 2 lb coffee bag with a gusset), stacked cookies, a protein powder tub, or a small shipping box can all look deceptively flat from directly above. In those cases, take one level, straight-on shot that shows height and one overhead shot that shows footprint, while keeping lighting consistent. You can do this without turning your workspace into a photo studio: leave the item on the same matte surface, rotate it instead of moving it across the room, and keep the light sources in the same positions. The theme is consistency. Once you find an angle that makes edges clean and shadows soft, repeat it every time, and your estimates will be noticeably less jumpy across baking, packing, and bench work.
Reference objects, unit conversions, and repeatable results
Your reference object is your anchor, and consistency beats perfection. Photo weighing works best when the app can “see” one thing it already understands, then compare everything else to it in the same scene. If you always photograph a 6 oz salmon fillet next to the same reference card on the same counter, you will usually get more repeatable results than if you swap backgrounds, angles, and references each time. Think of it like baking by weight: you do not need a lab, you need a routine. The goal is a dependable estimate you can use for portioning (like 30 g almonds) or packing (like a 12 oz box), not a one-time miracle number.
Choosing a reference object that does not lie
A good reference object is boring on purpose. Pick something rigid (it does not bend), flat (no thick curves), a common size (easy to replace), non-reflective (no glare hotspots), and always the same item every time. Practical options: a standard credit card (ID-1 size, about 85.6 mm by 54.0 mm, or 3.37 in by 2.13 in), a business card (simple rectangle, usually matte), or a small “coin kit” you keep together (for example, 4 quarters in a tiny envelope) so you do not accidentally swap coins and change the visual cue. Avoid crumpled receipts, soft measuring tapes, or glossy gift cards that throw bright reflections into the image.
Placement matters as much as the object. Put the reference on the same plane as what you are weighing, right next to it, not behind it, and not partially covered. If you place the reference farther away, perspective makes it look smaller, and the app can interpret the item as larger than it really is. Also avoid mismatched scale cues, like a credit card in one corner, a ruler in another, and a tilted plate in the middle, because your scene now contains conflicting “size stories.” For jewelry, sparkle can confuse edges, so use a small matte tray (black or gray works well), then set your ring, chain, or pendants beside the same matte reference card to reduce glare and keep the outline clean.
How accurate are phone scale apps, and what should I expect?
Expect a helpful estimate, not a certified scale reading. With a consistent reference object, steady lighting, and a simple background, many everyday items can land close enough for decisions like portioning 150 g rice versus 220 g rice, or checking if a padded mailer is roughly 8 oz or closer to 12 oz. Accuracy typically drops with transparent items, reflective metals, messy piles (like shredded cheese), and tall objects that create tricky shadows. Your best benchmark is to test 3 to 5 known weights once, then reuse the same setup so your results stay repeatable from photo to photo.
What is the fastest grams to ounces conversion when cooking or shipping?
Use one number, and round it the same way every time. One ounce is about 28.35 grams, so ounces = grams ÷ 28.35, and grams = ounces × 28.35. For quick mental math, many people use 28 g per ounce, then adjust if it is close to a cutoff. Example: 100 g is about 3.5 oz (100 ÷ 28.35 = 3.53). If you are shipping, remember that carriers round up in certain cases, so 9.1 oz may price like 10 oz on some services. In the kitchen, 225 g flour is about 7.9 oz, which is “close enough” to 8 oz for many recipes.
Can I estimate shipping cost from a photo, and what about DIM weight?
You can estimate, but shipping charges are based on billable weight, not just what your item weighs. A photo-based weight estimate can tell you if a packed order is probably around 12 oz versus 2 lb, which helps you pick a mailer and avoid obvious mistakes. The surprise many sellers hit is dimensional weight (DIM weight): if your box is big for its weight, carriers may charge based on the space it takes up, even if the item is light. This is why a fluffy jacket can cost more than a dense book. For USPS specifics, check the USPS dimensional weight rules, then treat your photo estimate as one input, along with measured box dimensions.
Need to weigh something fast, without digging out a scale? Download Scale for Grams and get an AI-powered weight estimate from a photo in seconds. It is great for quick checks on meals, parcels, and small items when you just need a ballpark figure fast. Grab it now on iOS and try your first photo estimate today.
Need to Weigh Something?
Download Scale for Grams and get an AI weight estimate from a photo in seconds.