Sourdough Starter Feeding Without Scale: Gram Ratio Shortcuts
No kitchen scale? You can still keep a predictable sourdough starter by using simple ratio habits, volume-to-grams shortcuts, and one consistency target you can recognize every time. Here is a practical system that reduces discard and gets you back to weight-based baking fast.
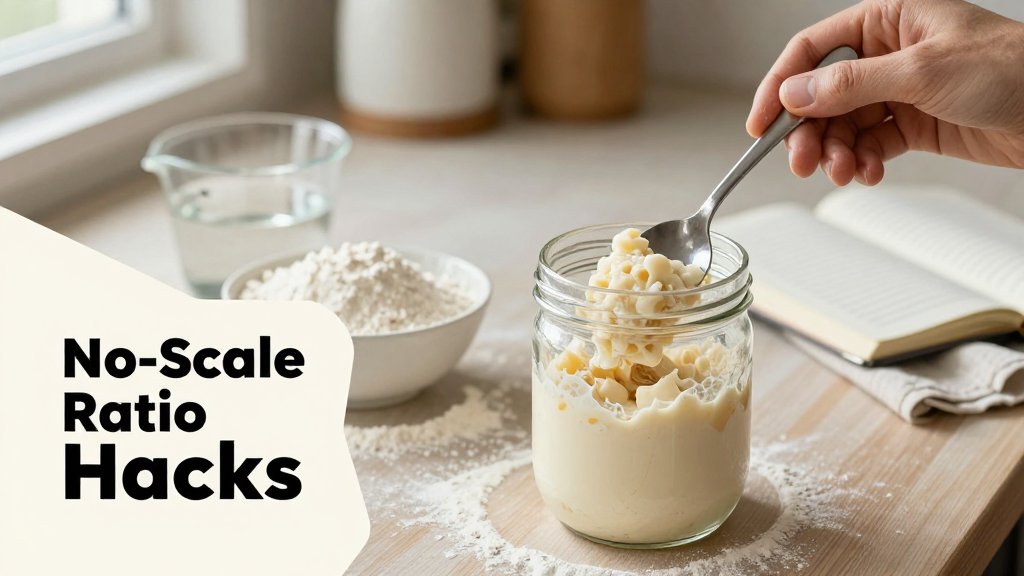
You are ready to feed your sourdough starter, then you notice the scale battery is dead. That small snag can throw off hydration, slow fermentation, and leave you guessing. This guide shows how to keep your starter on track without weighing, using simple ratio shortcuts like 1:1:1 and 1:2:2, quick volume-based swaps, and reliable texture cues such as thick pancake batter. You will also learn an optional phone-based way to estimate grams when you need extra precision.
Feed sourdough starter without scale using ratios
Here’s the rule you can quote and actually use: sourdough feeding ratios are written by weight (starter:water:flour), but you can mimic them without a scale by keeping a consistent small amount and feeding to one repeatable texture. The goal is not “perfect grams,” it is repeatable fermentation. The biggest trap is treating equal cups like equal weight. They are not. For example, 1 cup water is about 237 g, while 1 cup all-purpose flour is about 120 g, so “1 cup flour + 1 cup water” is nearly double the water by weight. That is why starters fed by cups can swing from pasty to soupy and suddenly peak too fast or smell extra sharp. (Those cup-to-gram numbers match the ingredient weight chart.)
The no-scale rule that keeps ratios honest
Ratios like 1:1:1 and 1:2:2 are starter:water:flour by weight, which is why bakers love grams. Without a scale, your easiest workaround is to control the “keep” amount so the math stays honest. Pick one spoon and one jar, then do the same moves every time. A practical baseline is: keep about 2 tablespoons of active starter (stir it down first), add water a little at a time until it loosens and looks like thick cream, then add flour until it returns to thick pancake batter. If you always aim for that same batter feel, you are effectively steering toward a 100% hydration starter behavior (equal flour and water by weight), even though you never measured grams.
Make the texture test more reliable by giving yourself visual checkpoints. Scrape down the jar and mark the starting level with a rubber band or piece of tape, then you can see how long it takes to peak and how high it rises. If your starter doubles in 4 to 6 hours after feeding and then starts to fall, your feeding amount is in the right neighborhood for room temperature baking. If it triples in 2 hours and collapses, it is underfed for the warmth of your kitchen, and you need a bigger feed (or a cooler spot). If it barely rises by 10 to 12 hours, it is either cold, too stiff, or it needs more time between feedings to recover strength.
Ratios are weights, not cups. Keep a small amount of starter, loosen with water, then thicken with flour until it looks like thick pancake batter. If it peaks too fast, feed bigger next time.
When to use 1:1:1 vs 1:2:2 (and why it matters)
Use 1:1:1 when you want a faster, maintenance-style feed that gets your starter lively again quickly. In plain language, it means you feed the starter an equal weight of water and an equal weight of flour, so the culture gets a decent meal but not a huge one. At typical room temps (about 70 to 75 F), a healthy starter fed 1:1:1 often peaks sooner, which is convenient if you want to mix dough later the same day. Practical example: you feed at 9 a.m., it peaks sometime around early afternoon, and you bake with it 4 to 8 hours after feeding. If you are keeping a small “pet” starter on the counter and baking frequently, this is the ratio that keeps it ready without generating mountains of discard.
Use 1:2:2 when you need more runway. This is a stronger feed (twice as much flour and twice as much water as the starter by weight), so it usually takes longer to ripen and it tends to mellow a starter that smells sharp, nail-polish-like, or overly vinegary. Practical example: you feed around 9 to 10 p.m., leave it at cool room temperature, and it is more likely to be near peak in the morning, rather than peaking at midnight and falling flat by breakfast. Another good time for 1:2:2 is right after your starter has been sitting too long between feeds, or when you are trying to build strength before a busy bake day. Bigger feeds mean more food, a slower acid build, and a wider window to catch peak.
The common mistake is writing “1:1:1” and then measuring “1 cup starter, 1 cup water, 1 cup flour.” By weight, that is not even close. Water is heavy, flour is light, and starter is variable because bubbles change its volume. If you insist on volume shortcuts, at least make them weight-aware: many bakers find that about 1 cup flour pairs more like 1/2 cup water for a similar weight, and then you adjust with the texture test so the jar lands back at thick pancake batter. This same mindset helps outside baking too. If you sell jewelry, converting units before pricing matters just as much as converting cups to grams, so bookmark convert DWT before selling and keep your numbers consistent.
Hydration without scale: use texture and volume cues
The win here is repeatability, not perfection. If you can feed your starter so it looks and behaves the same way most days, your rise times get predictable and your dough formulas get easier to manage. Volume measures can help you get close, but treat them as training wheels, not truth, because flour packs differently every time. For water, though, the math is friendly: common baking charts list 1 cup water at about 227 g, which is a helpful reality check when you are tempted to call it “240 g” and move on. (More on that shortcut in a minute.) If you want a quick reference for these conversions, King Arthur Baking’s ingredient weight chart is a solid bookmark. (kingarthurbaking.com)
Before you adjust anything, give your fresh mix a short “settle time.” Stir your flour and water into the starter until no dry bits remain, scrape down the sides, then wait 2 to 3 minutes. Flour keeps absorbing water after you stop mixing, and that tiny pause prevents you from overcorrecting. Also remember that temperature changes texture fast: a starter mixed with cold water or kept in a chilly kitchen will feel thicker right away, while the same starter in a warm room can look looser and more glossy. Try to compare texture at a consistent moment, such as right after mixing and again after that 2 to 3 minute rest, so your tweaks are small and repeatable.
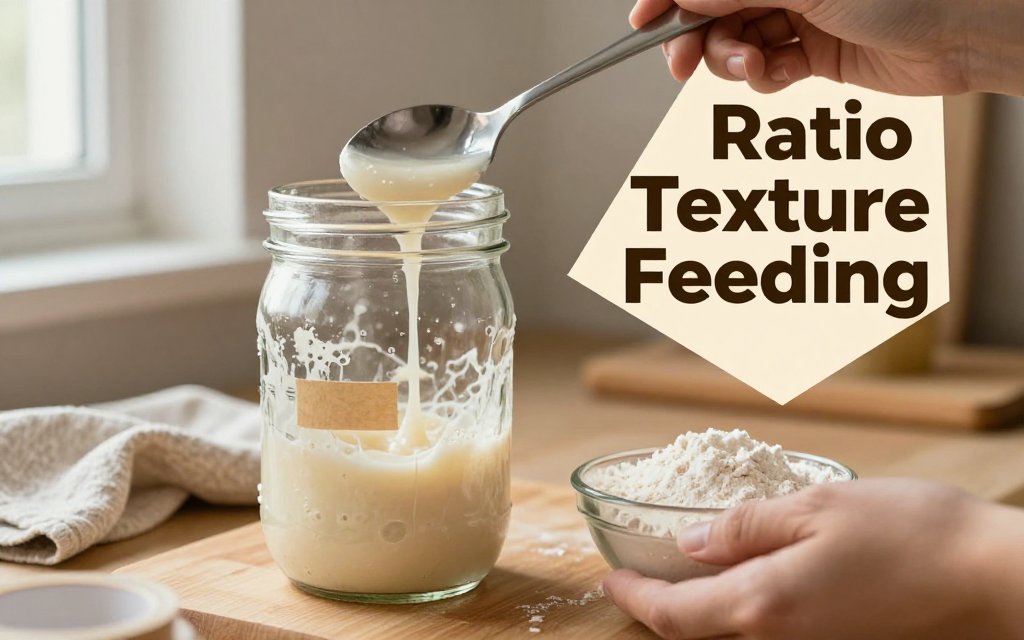
Thick pancake batter is the target consistency
In the jar, “thick pancake batter” has a few reliable tells. It mounds slightly when you spoon it in, then relaxes into a mostly level surface over 10 to 30 seconds. If you drag a spoon through the middle, you get a visible groove that slowly fills back in, instead of snapping shut immediately. It does not pour like water, but it is also not a dough ball that you could knead. Think of a batter that would reluctantly drop off a spoon in a slow blob. If you consistently hit this texture, your starter is usually easy to read at peak, because bubbles can rise and expand without the whole jar separating into layers.
Quick fixes should be boring and tiny. If your mix is soup-like, add flour 1 tablespoon at a time, stir well, and wait another minute. That tablespoon is a small enough step that you can repeat it tomorrow without guessing. If your mix is paste-like and crumbly, add water 1 teaspoon at a time and stir hard until it smooths out. Whole wheat and rye are usually “thirstier” than all-purpose flour, so they often need a splash more water to behave like the same hydration, especially if you store those flours in a very dry pantry. Keep a note on the jar lid like “rye: +2 tsp water” so you do not relearn the same lesson every week.
Measuring flour and water by volume without getting burned
Water is the easy part: 1 tablespoon water is about 15 g, 1 teaspoon is about 5 g, and a “quick mental math” cup is about 240 g. If you want a more US-cup accurate number for recipes, many baking references put 1 cup water closer to about 227 g, so do not be surprised when your shortcut cup runs a little heavy. (kingarthurbaking.com) Flour is the part that can burn you. If you use cups, use the spoon-and-level habit, meaning you spoon flour into the cup and level it off instead of scooping and packing. With that approach, 1 cup all-purpose flour often lands around 120 g. (kingarthurbaking.com) This is why equal volumes of flour and water do not equal equal weights.
Here is what that means in real starter terms. If you feed “cup-for-cup,” for example 1/4 cup flour plus 1/4 cup water, your starter gets wetter than a 1:1 by weight feed. Roughly speaking, 1/4 cup all-purpose flour is about 30 g (since 1 cup is about 120 g), while 1/4 cup water is about 57 g (since 1 cup is about 227 g). (kingarthurbaking.com) That is almost double the water compared to flour, so you should expect a looser, faster-fermenting starter that may rise and fall quicker and can separate more easily. If you are aiming for thick pancake batter by feel, a better “no-scale” starting point is to add water first (easy to be consistent), then add flour until the texture matches your target, adjusting in 1 tablespoon flour or 1 teaspoon water steps. If you are away from a scale and still want a ballpark gram estimate, a photo-based estimator can help you sanity-check portions, but texture should still be your final decision maker.
Keep less starter, reduce discard, stay consistent
You do not need a huge jar of starter to bake great bread. A smaller “maintenance” starter is usually easier to keep active, easier to warm up after the fridge, and way easier to feed consistently when you are eyeballing instead of weighing. If you keep only a spoonful or two, your jar stays clean, your feedings happen faster, and your discard drops to something you can actually use (or skip entirely). King Arthur Baking even shows how a small-maintenance approach can cut discard dramatically while keeping the same feeding math, see their guide on maintaining a smaller starter. The big idea is simple: keep less, feed by a repeatable thickness, and only build a big batch right before you bake.
A small-jar routine that makes ratios simpler
For low-discard maintenance, keep 20 to 40 g equivalent of starter (roughly 1 to 2 tablespoons) as your “seed.” That is plenty of yeast and bacteria to stay strong. If you bake daily and keep it at room temperature, aim for that small amount and feed on a predictable schedule, like every morning (or morning and evening if your kitchen runs warm). If you bake weekly, keep the same small amount but store it in the fridge and feed it once a week, then do one or two room-temperature feeds before baking day. Smaller keeps also cool down and warm up faster, so you get more predictable fermentation without babysitting a giant jar.
Here is a practical no-scale routine that works with almost any flour mix. Stir your starter down (so you are not measuring trapped bubbles), then keep one spoonful in a small jar and scrape the sides clean. Add enough water to loosen it into a smooth paste, then add flour until it looks like thick pancake batter, not pourable like crepe batter and not dry like dough. Tap the jar to level it, then mark the height with a rubber band or a strip of tape so you can see when it peaks and falls. Only scale up the night before baking: take 1 spoonful of your ripe starter, feed it bigger (for example, about double flour and water), and build exactly what your recipe needs.
How do I do a true 1:1:1 sourdough starter feeding ratio without a scale?
A true 1:1:1 means equal weights of starter, water, and flour. Without a scale, anchor one ingredient to something measurable, then match the others by repeatable cues. Easiest method: keep a consistent small “seed,” like 1 tablespoon of starter, add 1 tablespoon of water (so it loosens fully), then add flour until the paste returns to the same thickness and height you usually get after feeding. Use a jar mark to confirm you are close. If the starter peaks much faster than usual, next time add a little more flour and water (closer to 1:2:2) to give it more food.
Is 1:2:2 a better feeding ratio to reduce sourdough discard and sourness?
1:2:2 can be a better everyday ratio when you want longer time between feeds and a milder, less sharp aroma at peak. It gives the culture more fresh flour, so it takes longer to run out of food, and that can help you avoid a very acidic, collapsed starter if your schedule slips. It does not automatically reduce discard, though, discard is mostly controlled by how much starter you choose to keep. Example: keep about 20 g equivalent starter, then feed about 40 g water and 40 g flour (or the no-scale version: 1 spoonful starter, 2 spoonfuls water, then flour to a thick batter). You still keep only a spoonful next time, so waste stays tiny.
Baking by weight vs cups: can a phone scale app estimate grams for starter feeds?
Baking by weight is more repeatable than cups because flour compacts and starter can be fluffy with bubbles, so the same “1/2 cup” can vary a lot day to day. If you do not have a physical scale, a phone scale app for baking grams can help you get closer to weight-based feeding, especially when you want to repeat a routine exactly. With a photo-based estimator like Scale for Grams (iOS), you can take a picture of a small mound of flour in a bowl and get an estimated gram amount, then match water and starter to the ratio you want, like 30 g starter + 60 g water + 60 g flour for 1:2:2. It is also handy for building up before baking, for example when you need 200 g of ripe starter for a larger dough batch.
Need to weigh something fast without digging out a scale? Download Scale for Grams to get an AI-powered weight estimate from a photo in seconds. It is a handy backup for starter feeds, flour, and everyday kitchen checks when you want a quick gram ballpark. Grab it here: iOS. Try it next time your scale quits and keep baking on schedule.
Scale for Grams
Need to Weigh Something?
Download Scale for Grams and get an AI weight estimate from a photo in seconds.